In today's digital age, maintaining privacy on our devices is paramount. The iPhone, known for its robust security features, also offers various ways to protect personal information, including photos. This guide dives into a lesser-known feature that empowers users to keep sensitive photos out of sight, directly within the native gallery app, without the need for additional software.
Simple Steps to Hide Photos on Your iPhone
Follow these detailed steps to make selected photos in your iPhone gallery invisible:
-
Open your gallery and locate the photo you wish to hide.
-
Tap on 'Edit' at the top right corner of the screen to access editing options.

-
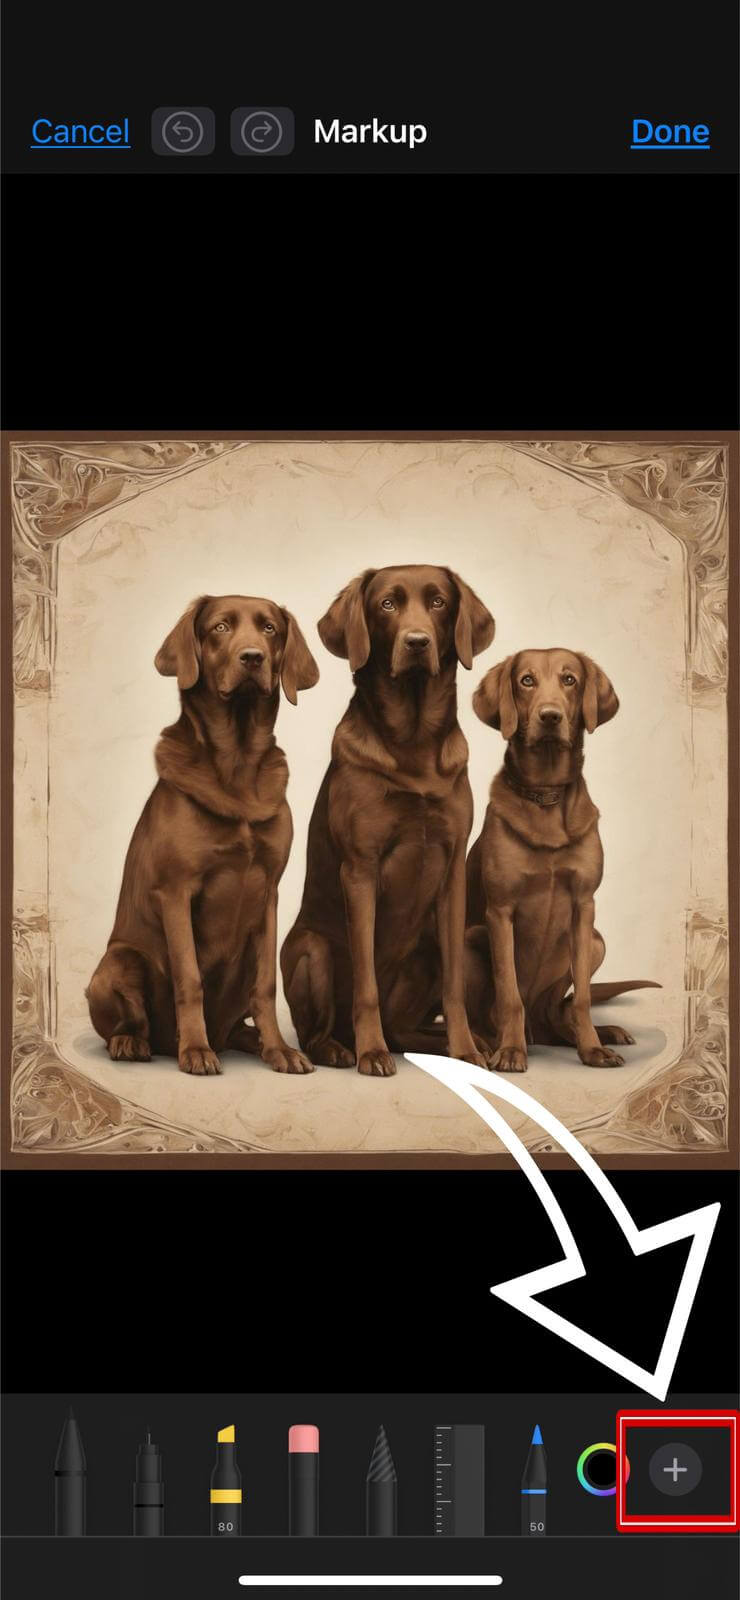
Select the 'markup tool (pen icon)' from the tools available.

-
Tap on the plus '(+) icon' in the bottom-right corner to add a shape.
-
'Choose a square shape' from the shape selection menu.

-
'Resize the square' to cover your photo entirely. You may also change the color of the square, for instance, to blue, for better concealment.

-
Once done, tap 'Done' to save the changes. Your photo is now hidden in your gallery.
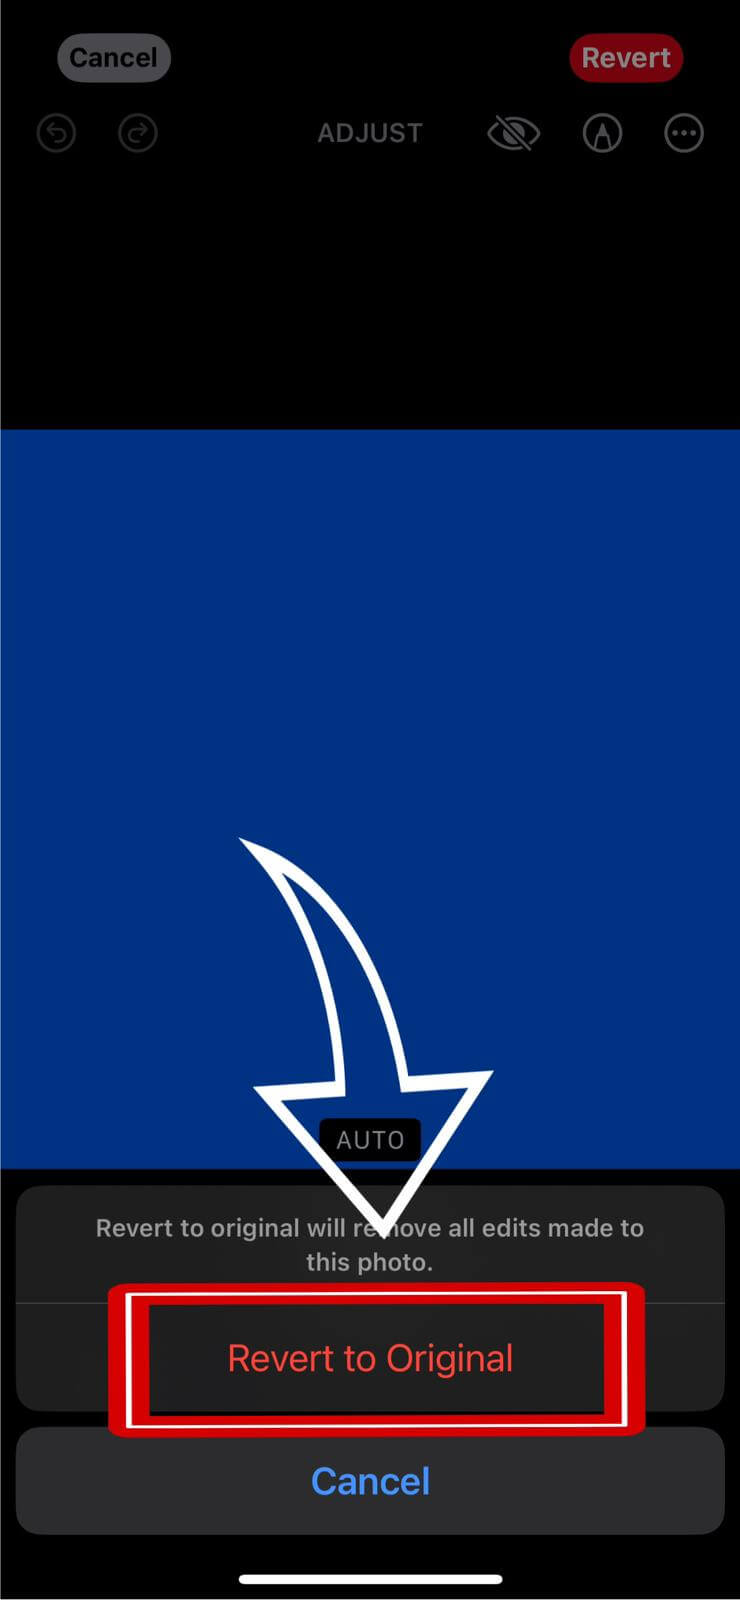
To revert the photo back to its original state, navigate to the edited photo, tap on 'Edit', and then choose 'Revert to Original'. This action will remove all edits, making the photo visible once more.